Module Workspace with Scalr
Brendan Thompson • 17 December 2021 • 4 min read
In this post, I am going to look at using a frankly pretty awesome feature of Scalr, the Module Registry Workspace. Scalr is a competitor to HashiCorp's Terraform Cloud (TFC) product, I won't go into any comparison of the two in this post as I want to focus on a feature of Scalr that I think is very novel and extremely useful!
If you're operating in an organisation with clearly defined patterns for your cloud resources, we can create those patterns as modules using this workspace type. This allows for tight control over how the resources are provisioned and a more straightforward pathway to upgrade the resources as the backing module(s) changes.
I have created a Terraform module for an Azure Landing Zone (LZ); this will provision some basic resources into a Resource Group. An LZ is commonly used in Azure, especially in larger or regulated businesses. We will step through setting up the workspace in Scalr and executing a workspace run!
Creating the Workspace#
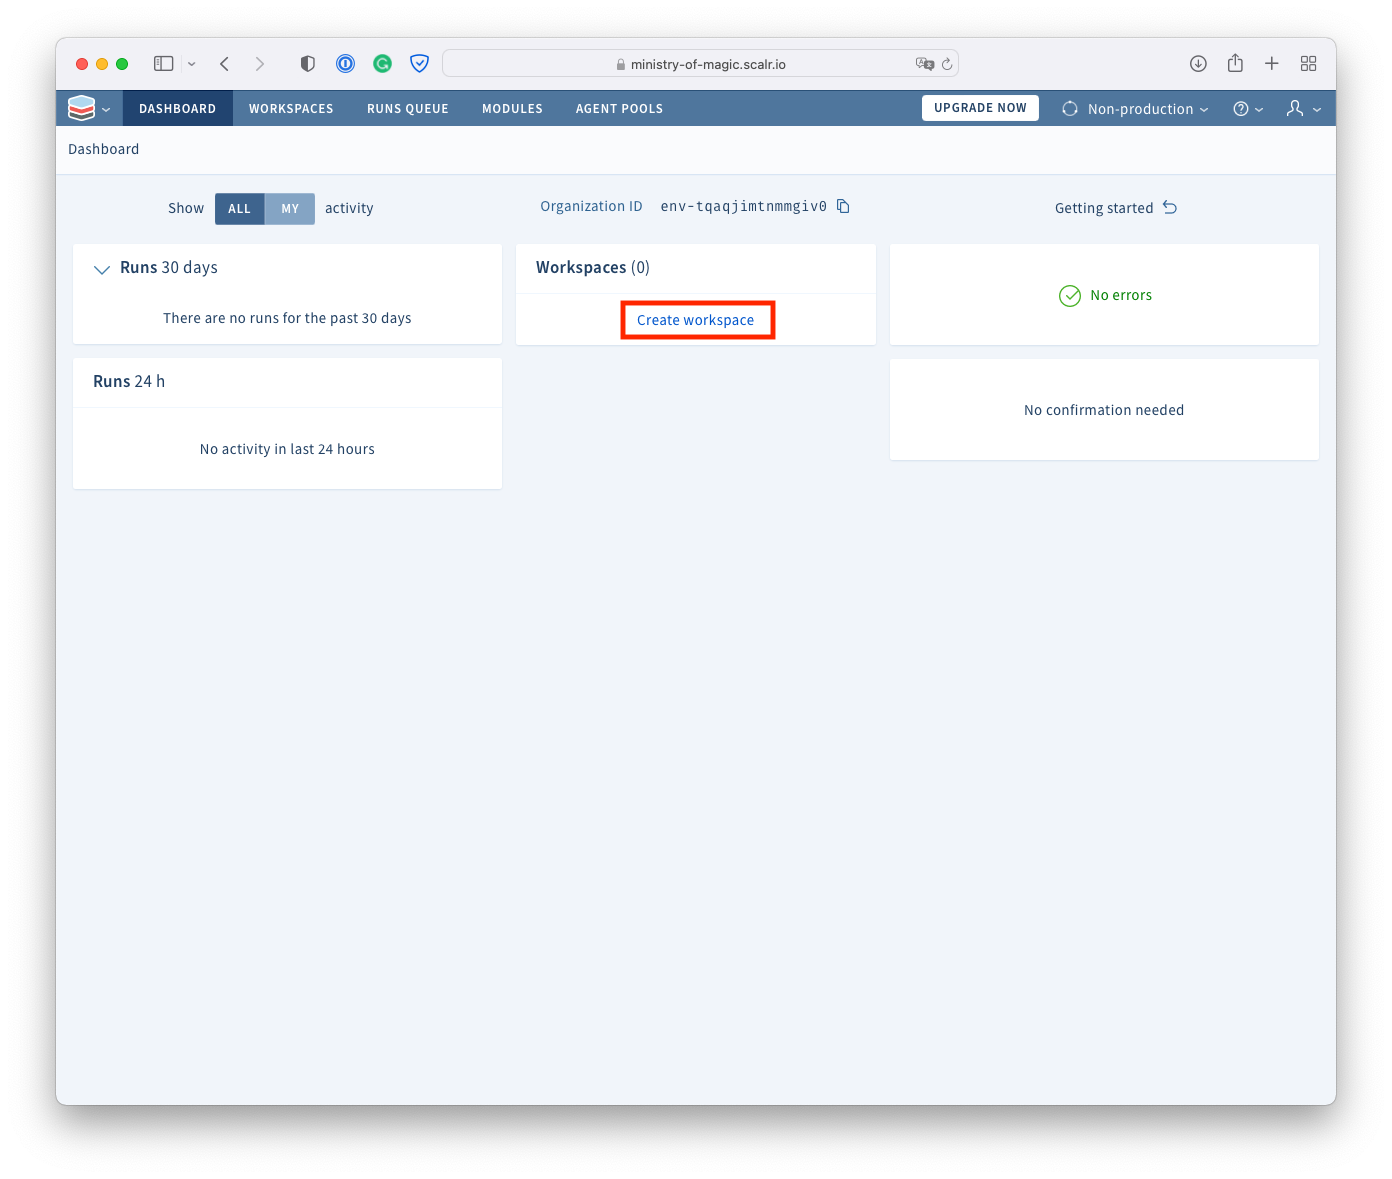
- Head to your instance of Scalr, and from the dashboard, click Create workspace.
- From the workspace creation screen, you will need to give the workspace a name, select the Module
type, choose a module and its corresponding version. Finally, click Create.

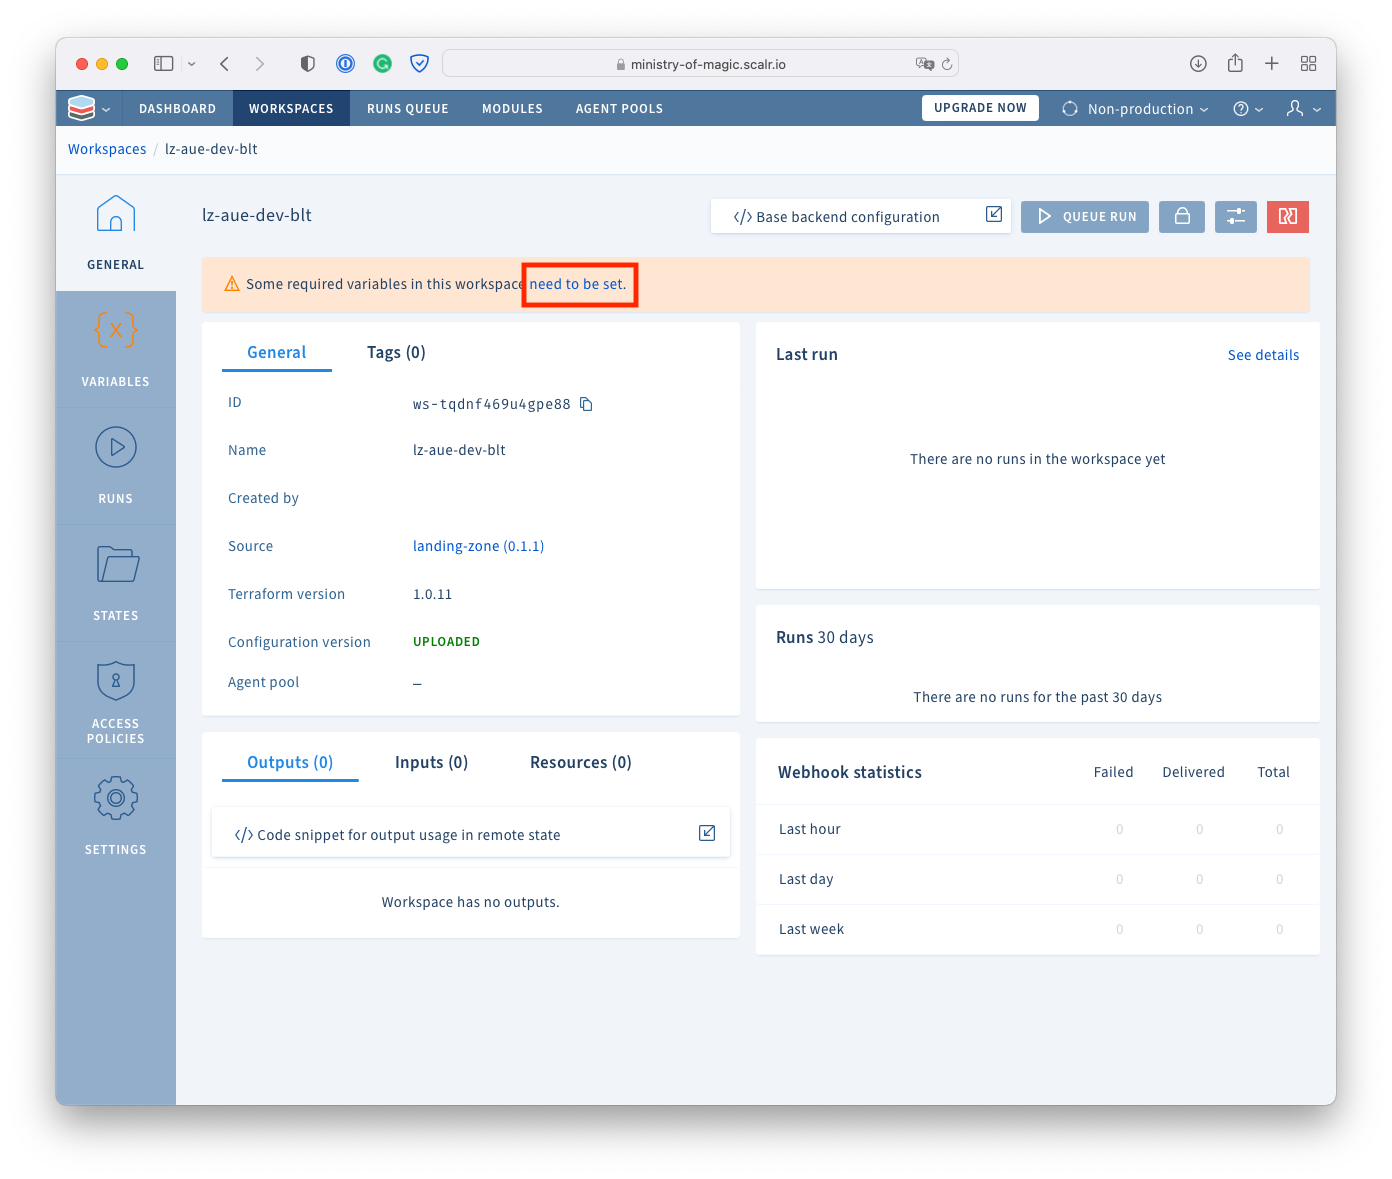
- Once the workspace is created, we will be taken to the dashboard/overview page of the workspace
itself. If any variables are required to be set, we will be prompted to do so. Click
on the need to be set.
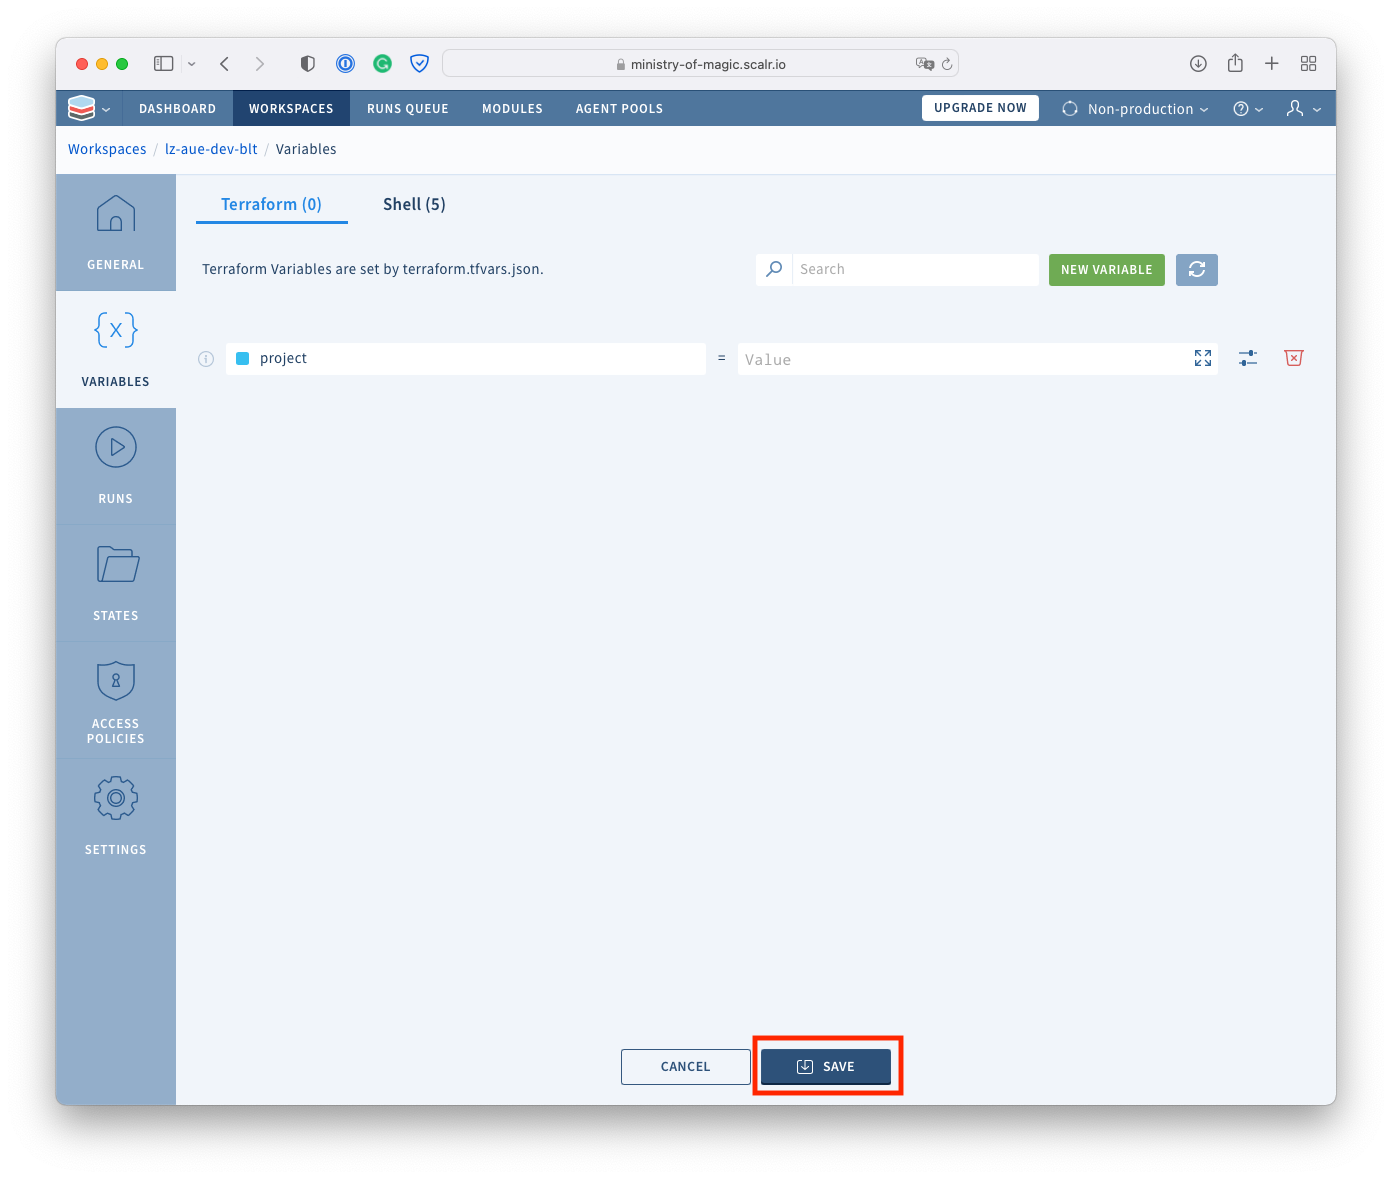
- Set any required variables and then click Save.
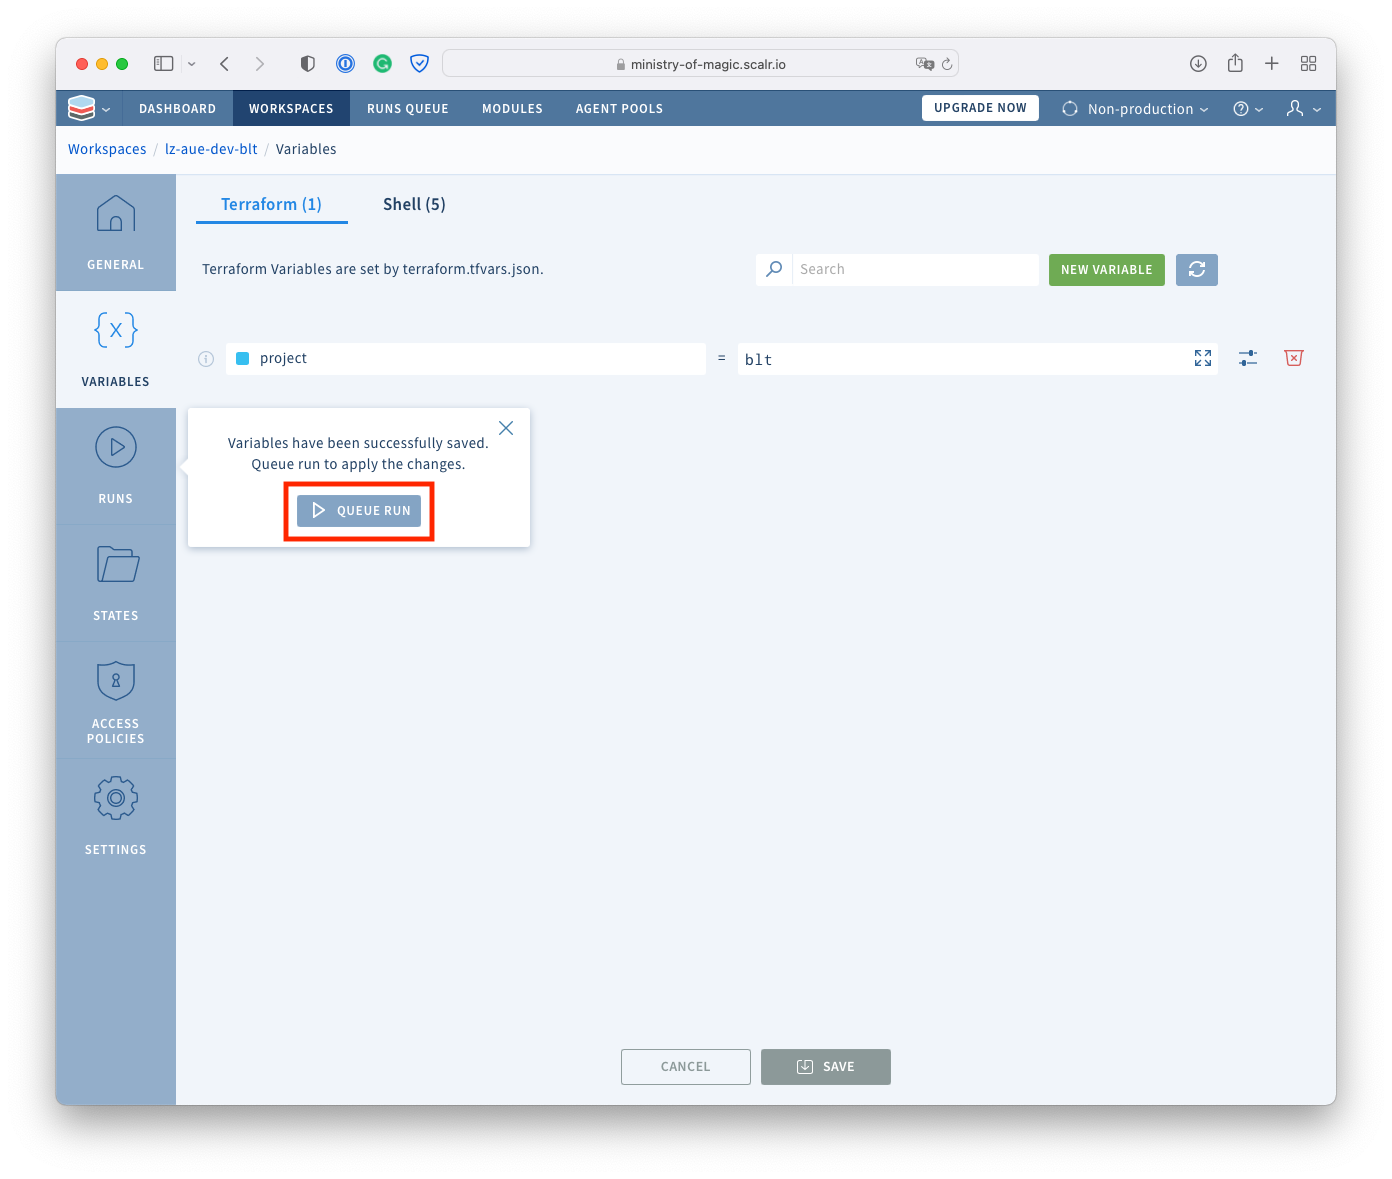
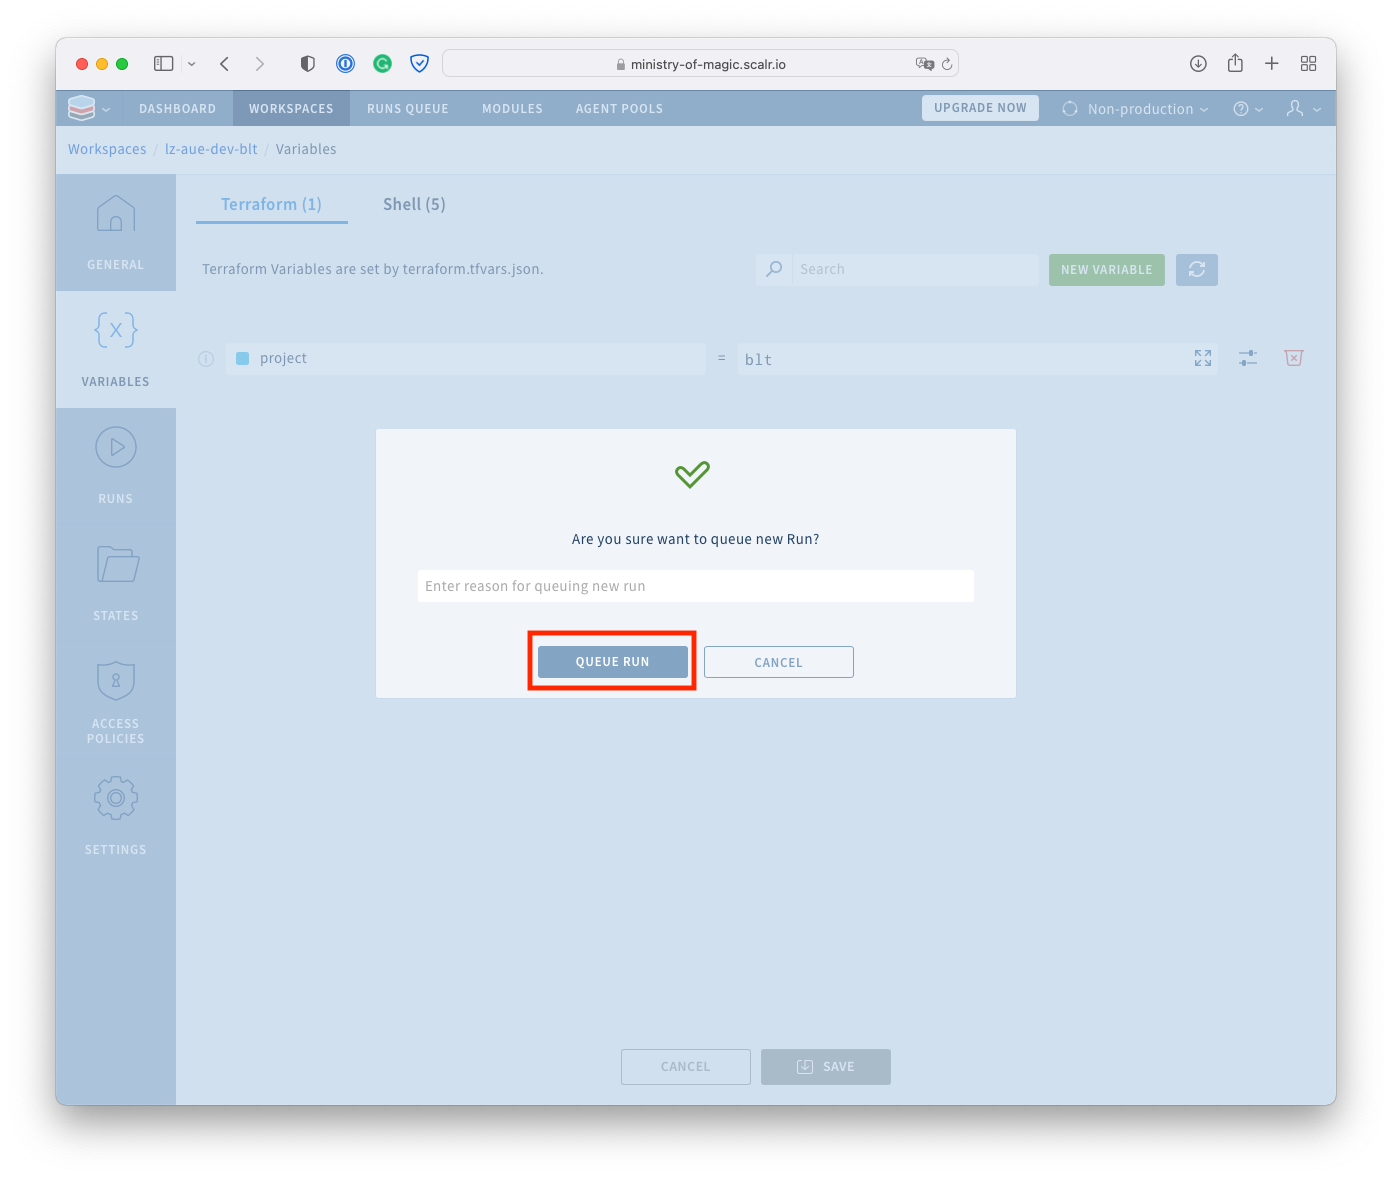
- Next, you will be prompted to queue a run by clicking on Queue Run.
- Scalr will prompt to confirm you want to queue the run and allow you to enter an optional
reason for it. Click Queue Run on the prompt.
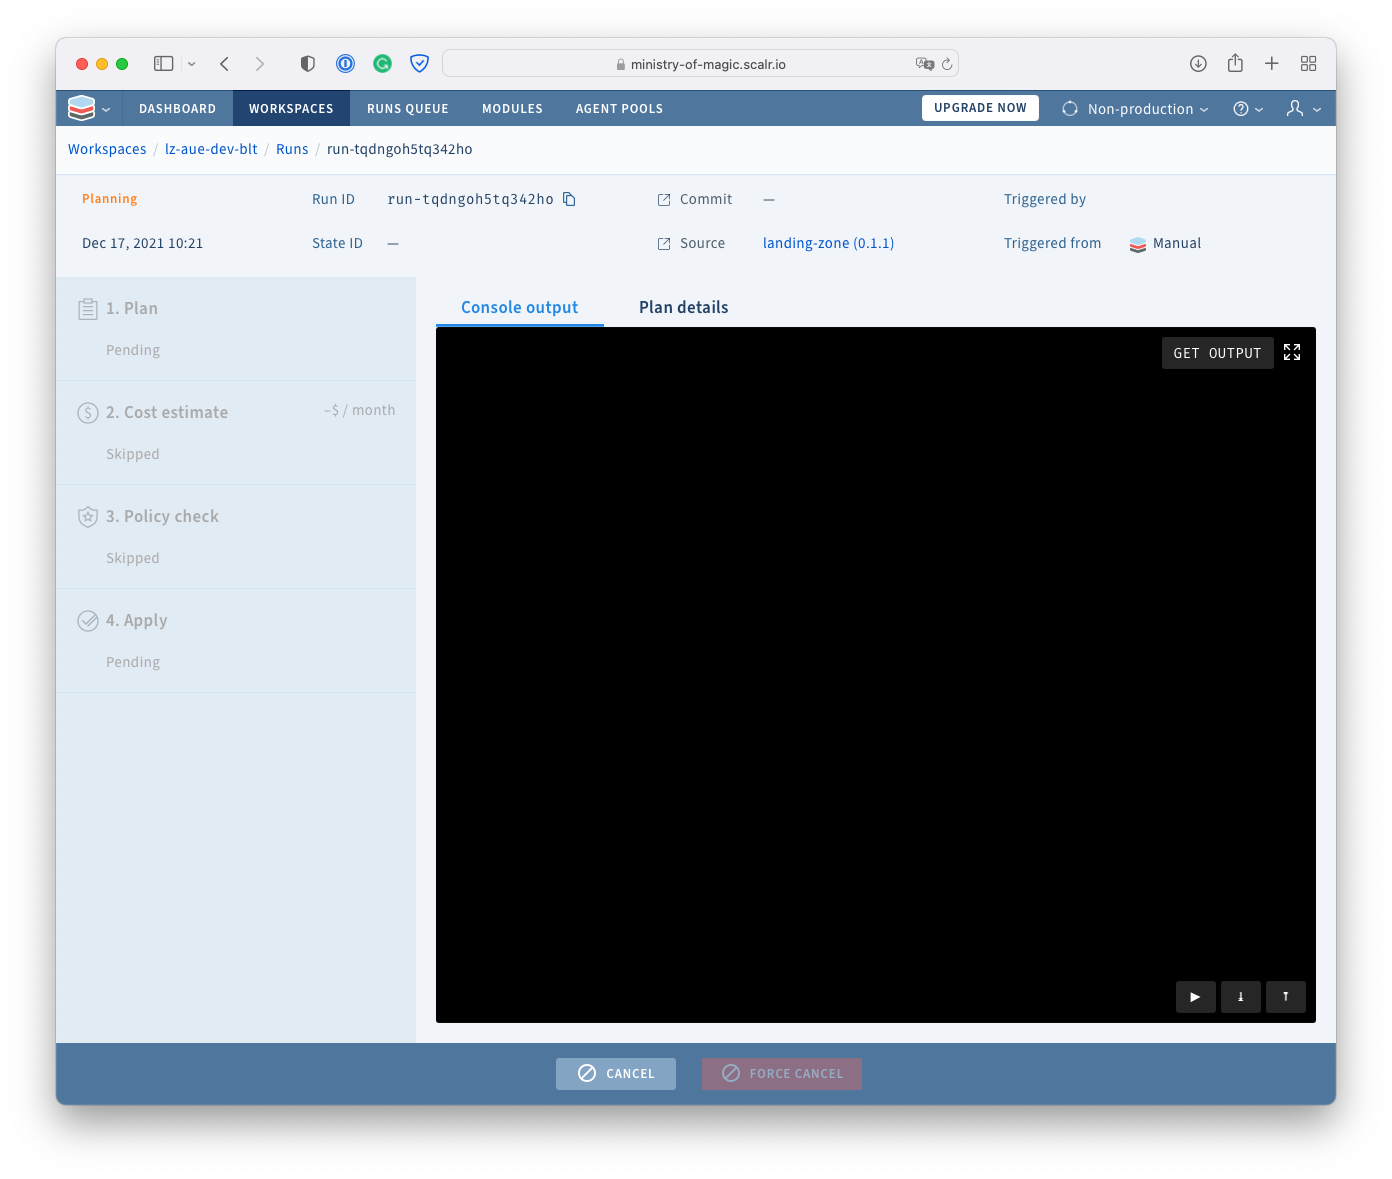
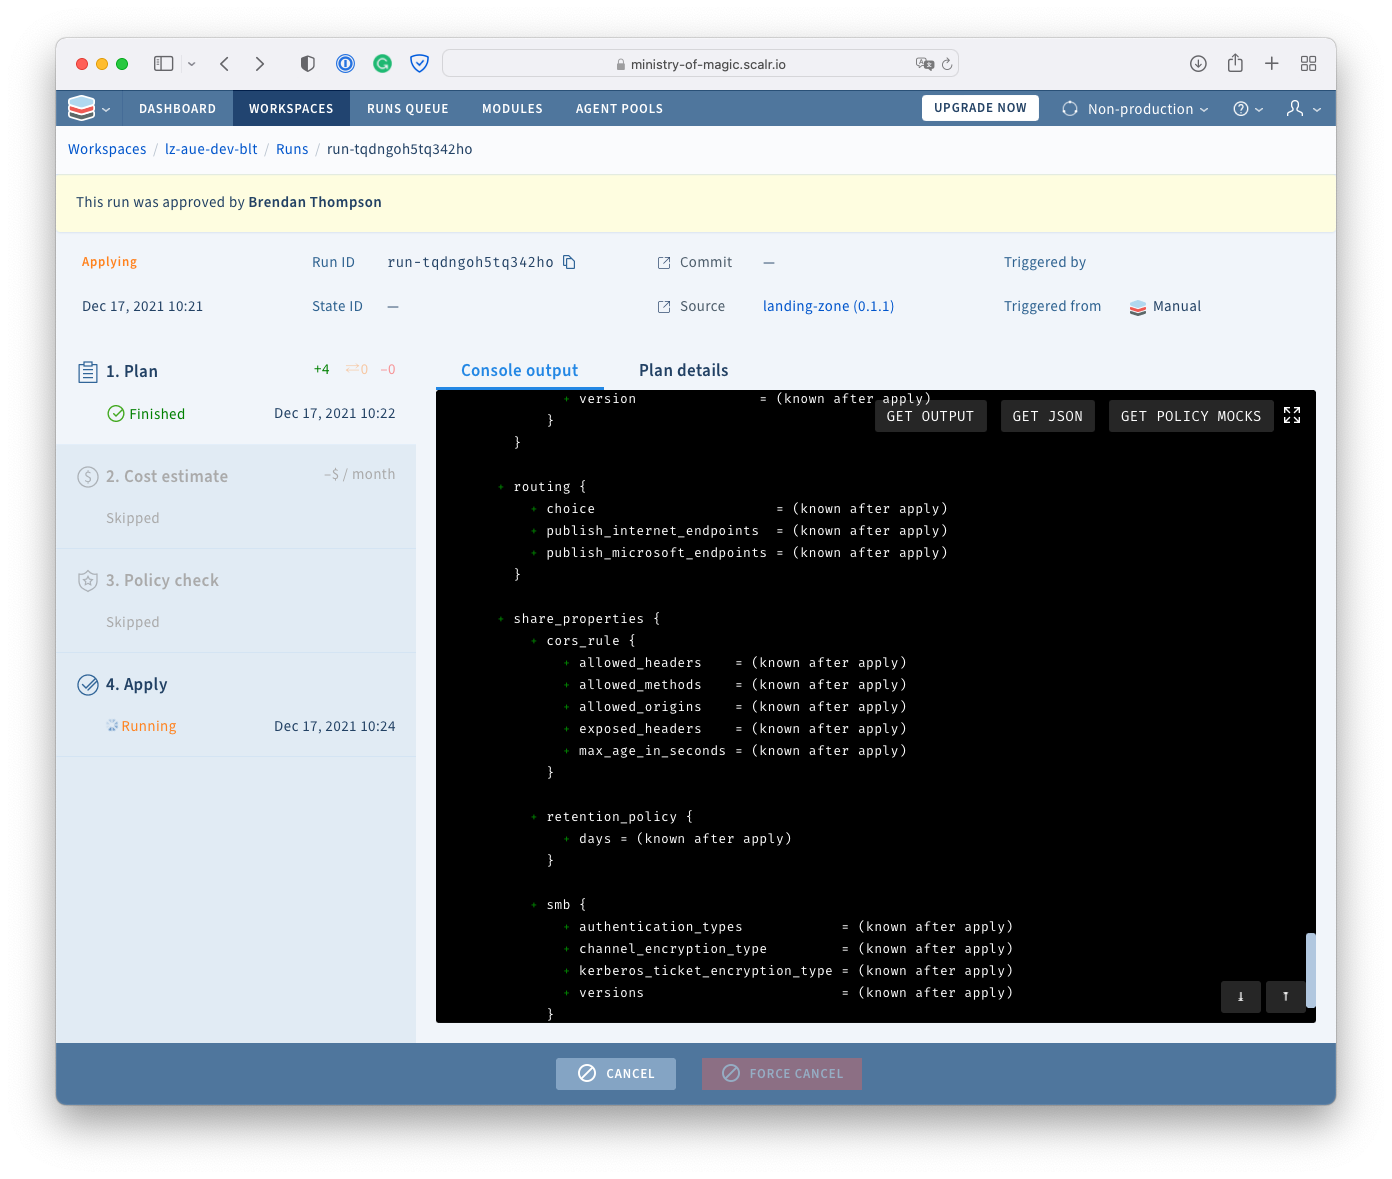
- Once the run is queued, we will be taken to the run details screen, which shows the status and
the output of the run.
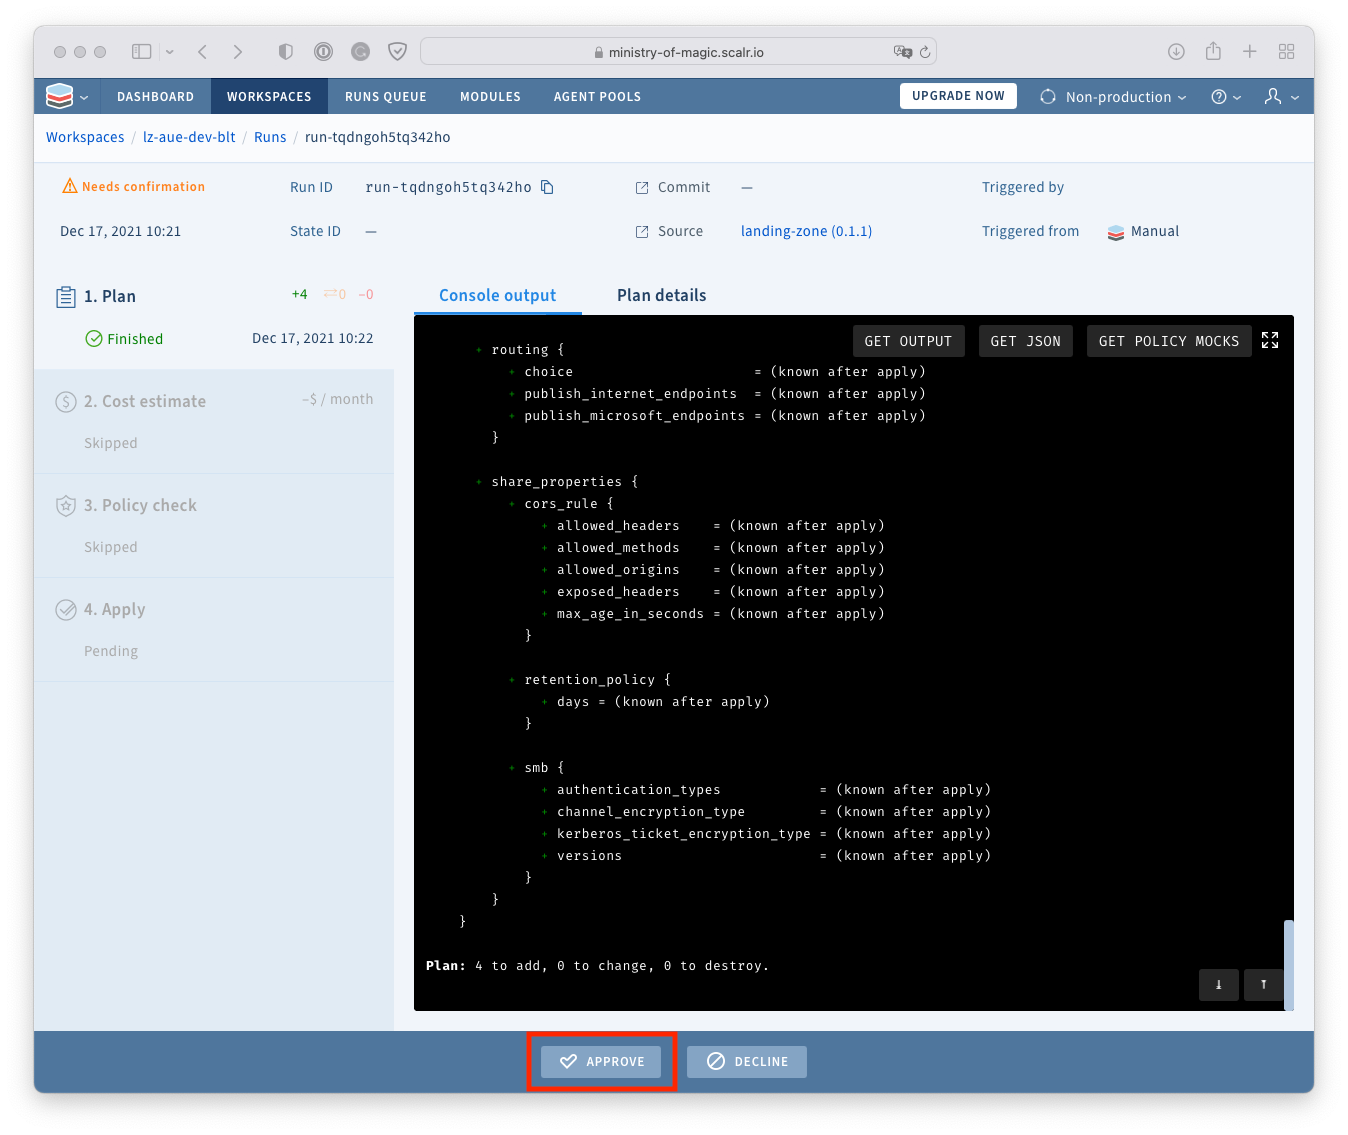
- As soon as planning is complete, we will review the plan and then either approve or
decline the run. In this instance, we will click Approve.
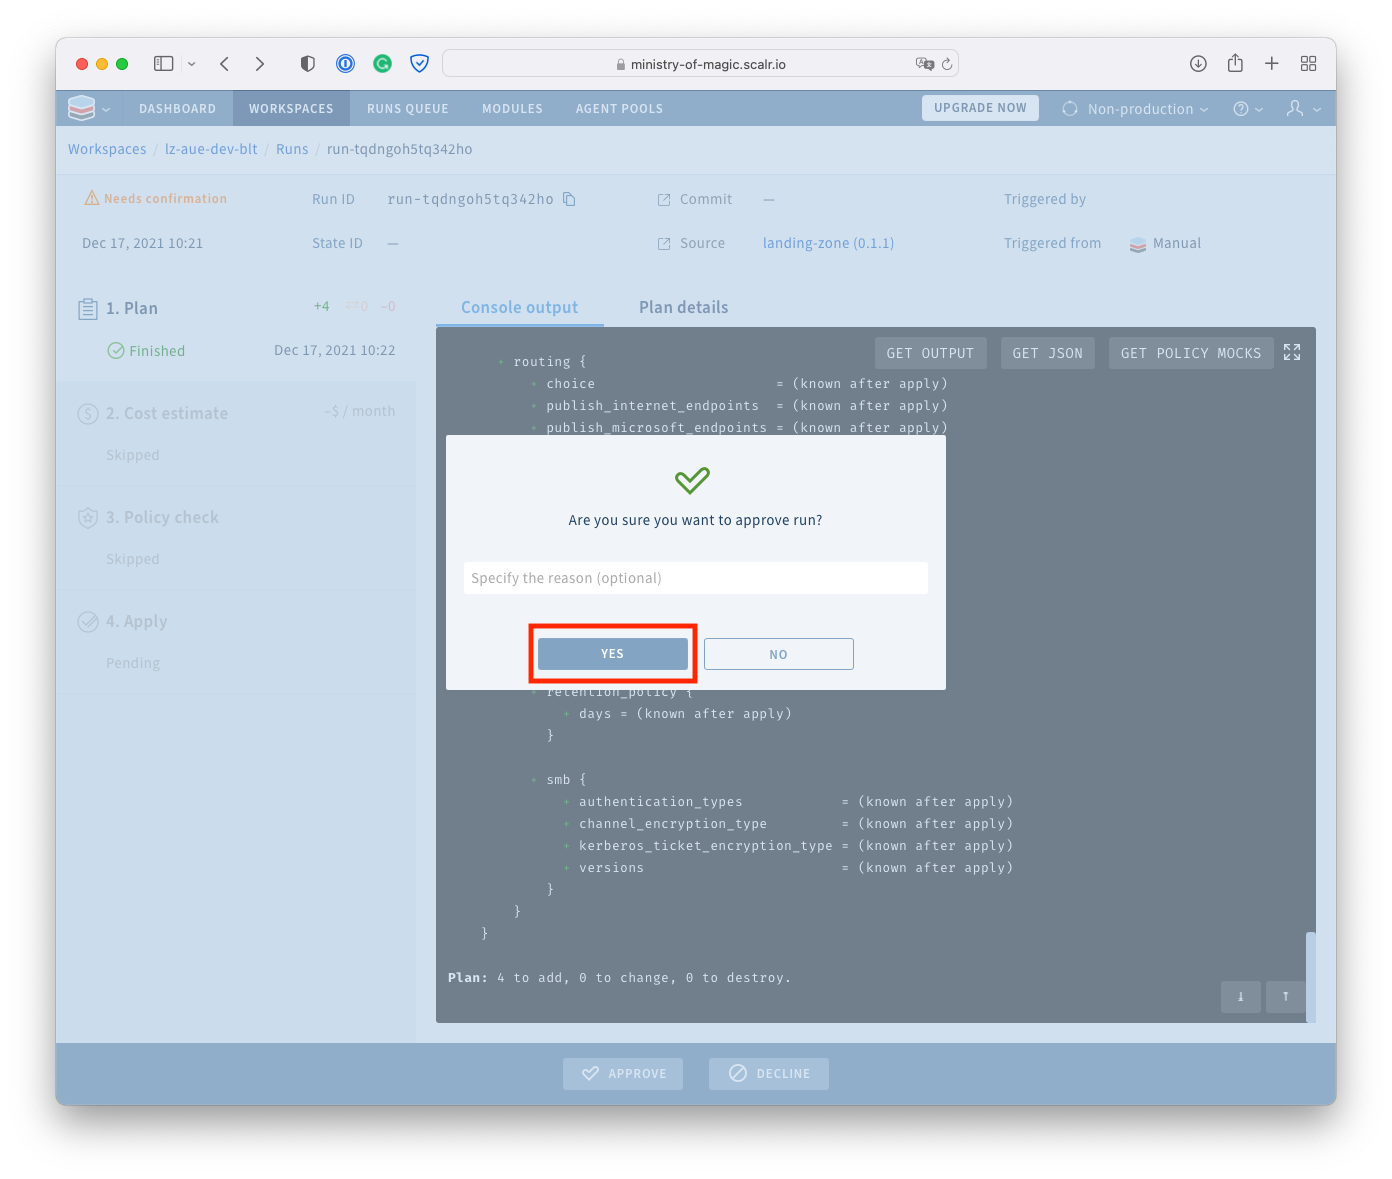
- Again, you will be prompted to approve the run and add an optional reason. Click Yes.
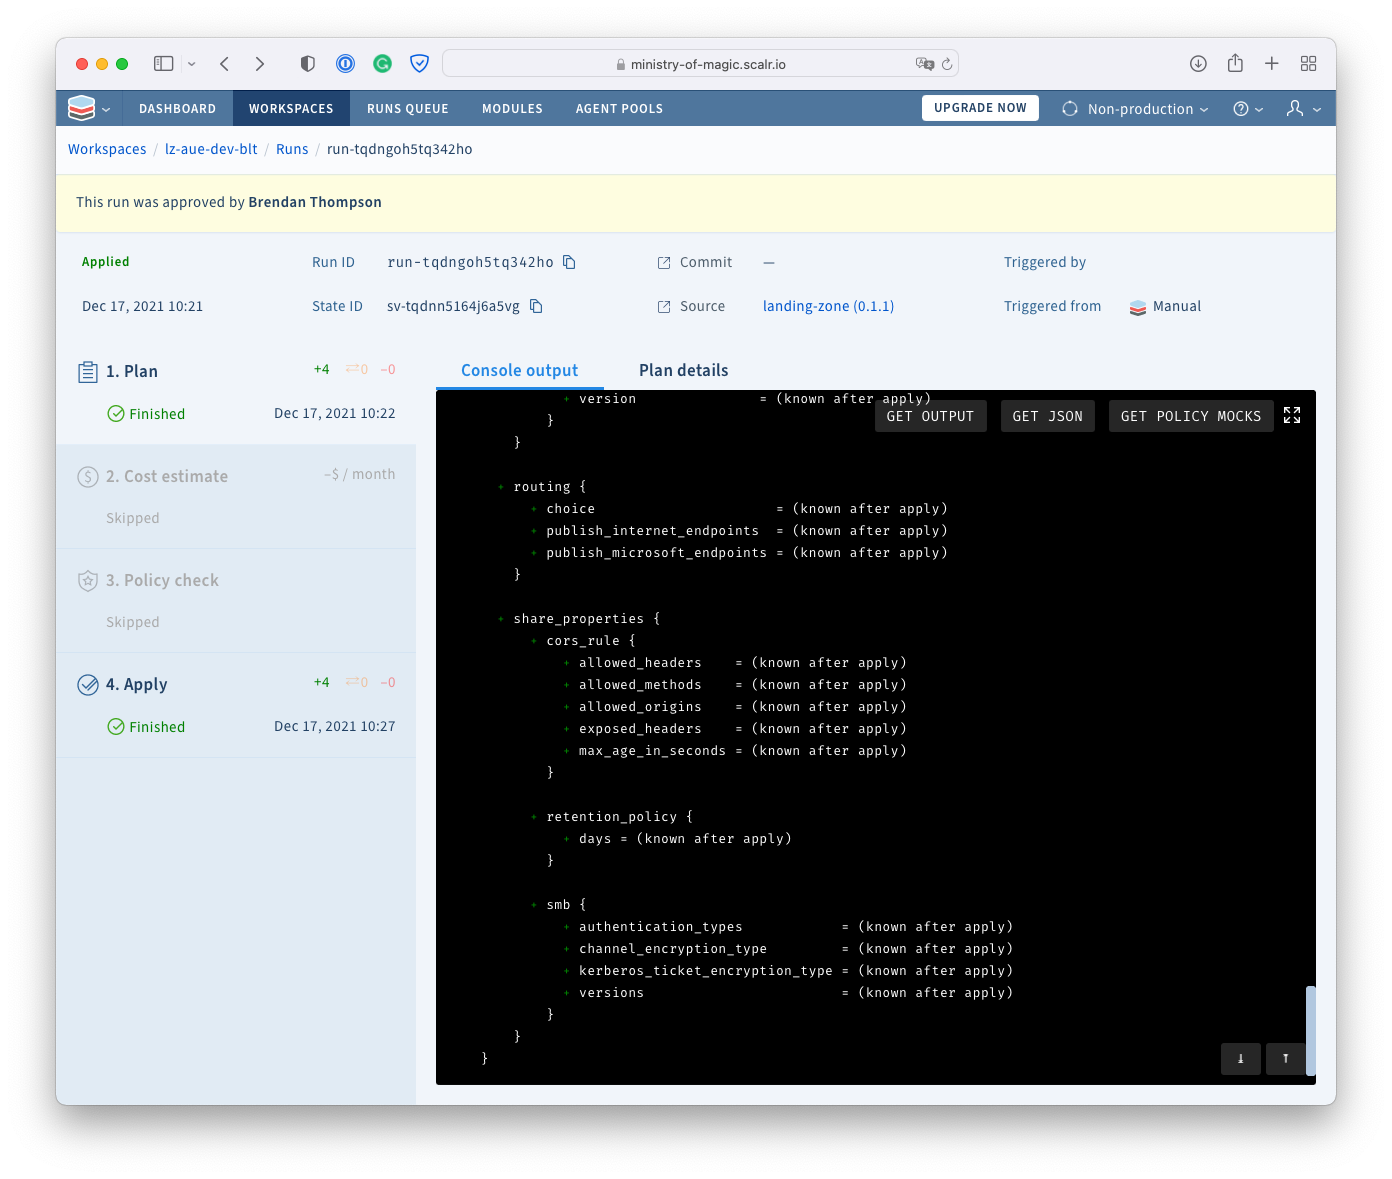
- We will now see similar behaviour to the planning stage, wherein the status and output of the
apply is visible to us.
- When the apply is complete, we can see the output in the console area and the status to the side.
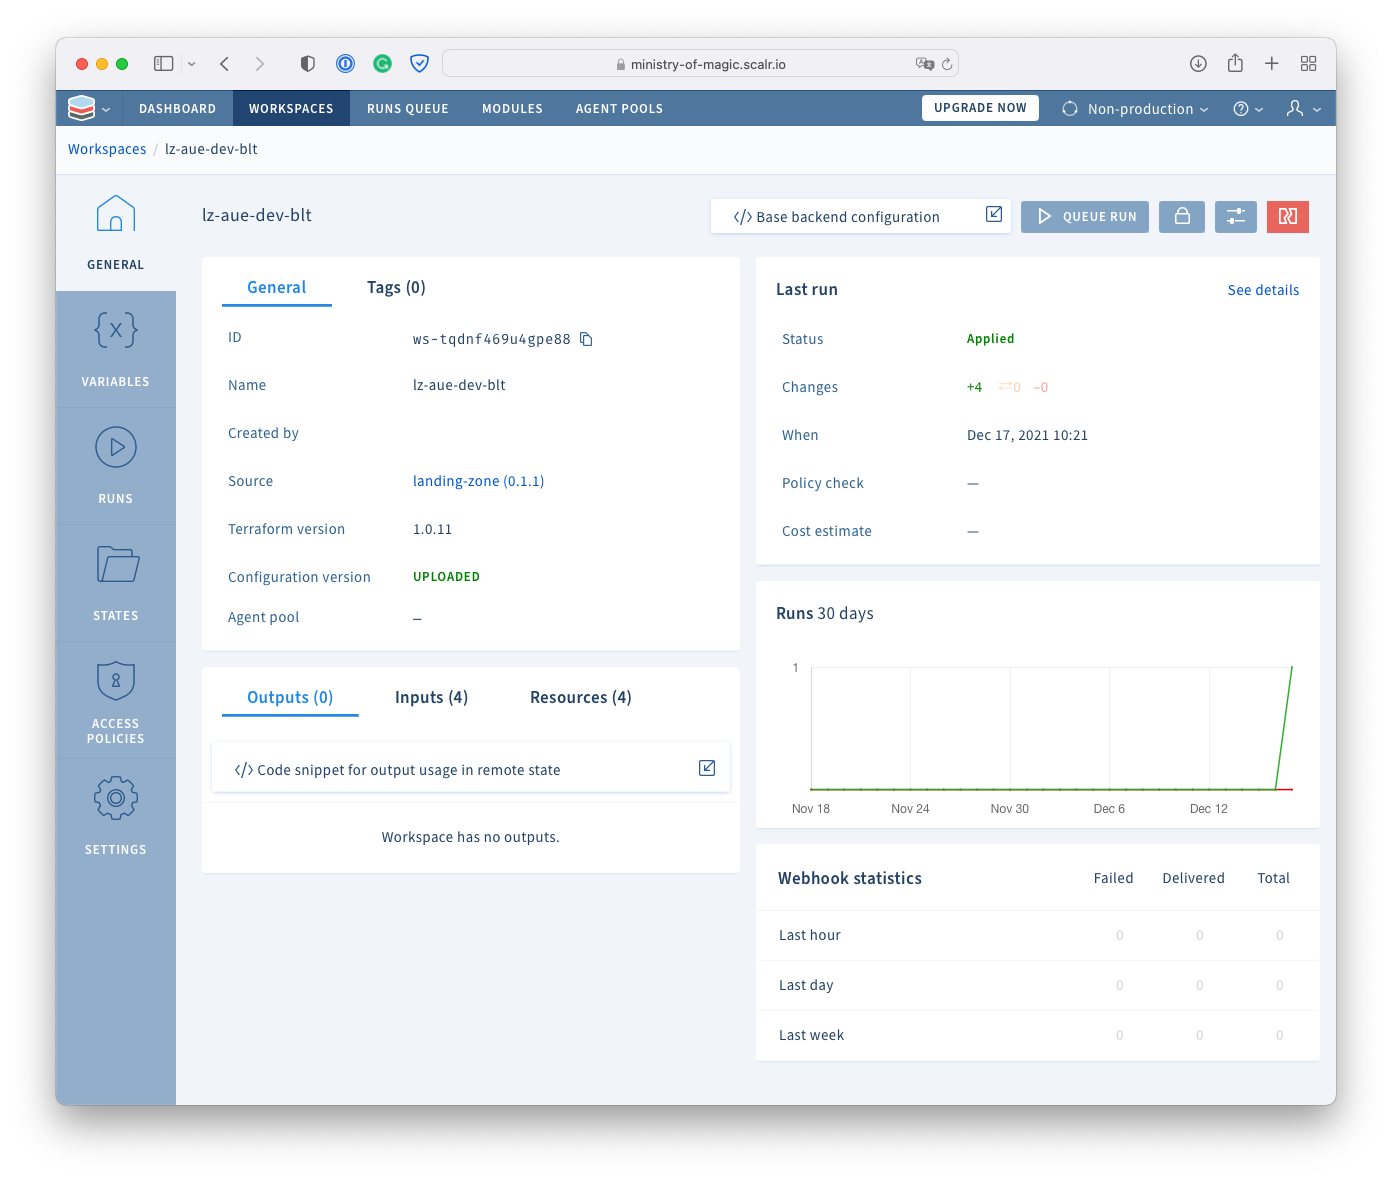
- If we head back to the workspace dashboard/overview, we can see the current status of our workspace.
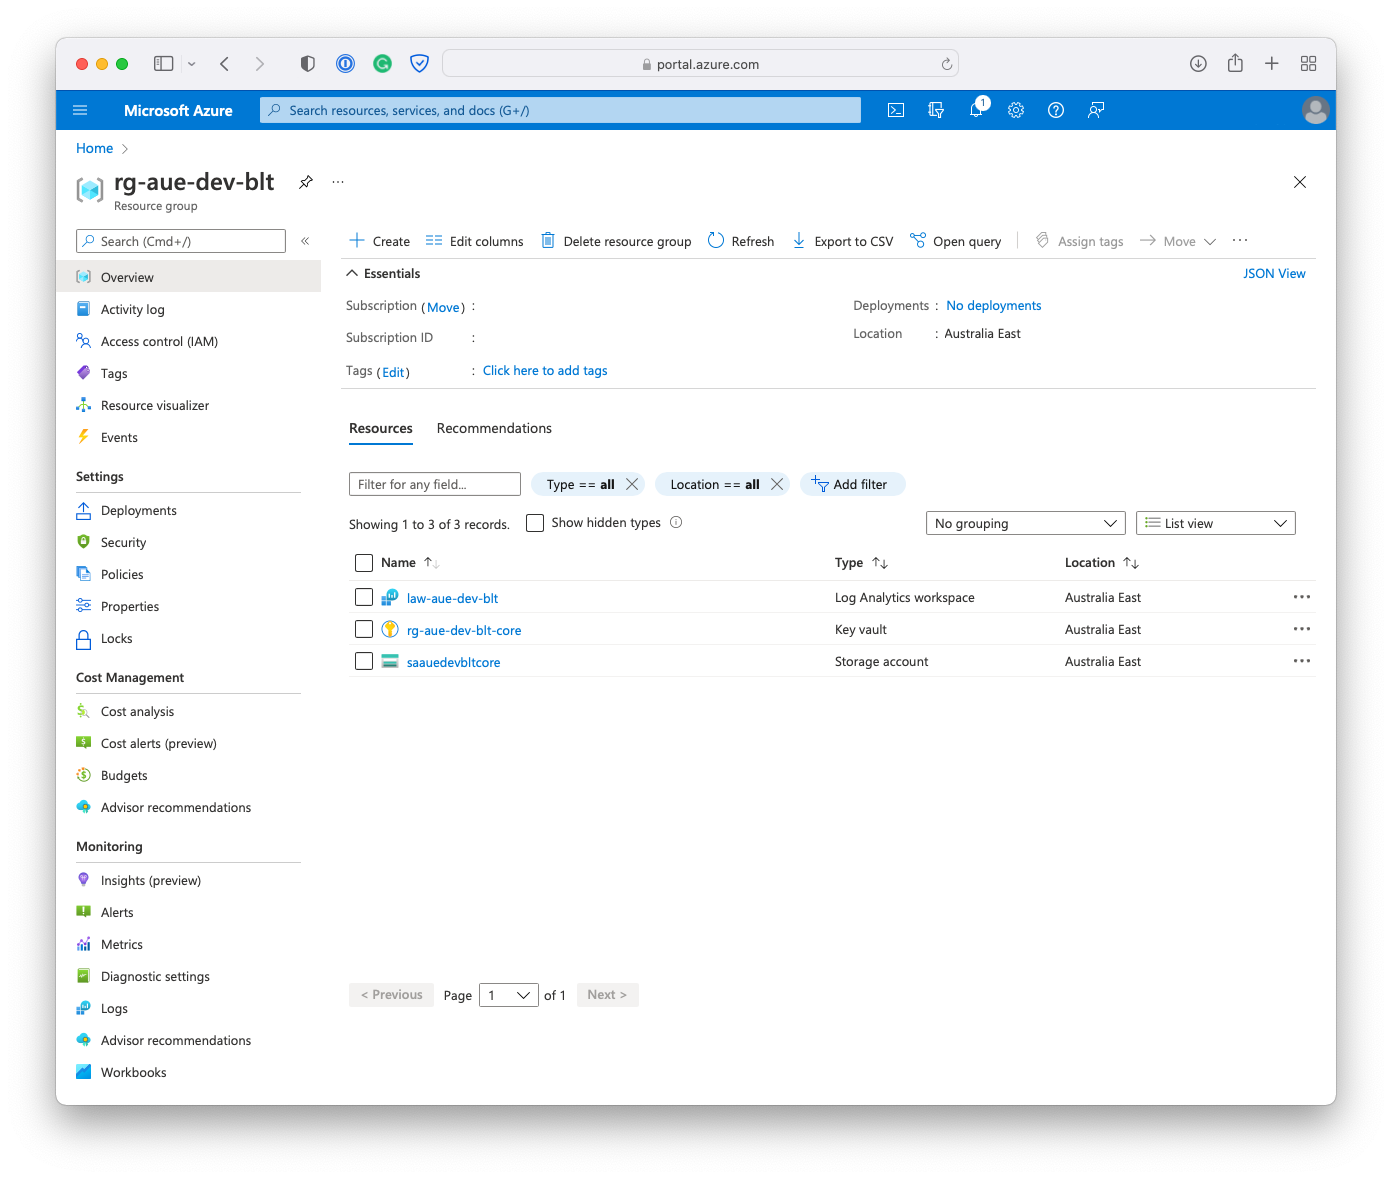
- Finally, the below shows what exists in the Azure portal.
Final Thoughts#
I think that this type of workspace is indeed excellent! The LZ scenario for me is one that I could see many organisations adopting as it gives an easy, maintainable and consistent way to deploy an LZ for consumers. In the future, I would like to delve into Scalr a little more, as this is currently my only exposure to the product.
I would love to hear from people currently using Scalr and what their experience has been like with the product.